Part 3: The Patient — 100% Walkthrough
Last updated: 2026-09-22 · 10 min read
Part 3 covers Chapters 7 and 8 and is the most interior, most linear section so far: the Medical Centre, then the Otherworld. Linear is good news for collection — there is very little to walk past — but it also means the shift into the Otherworld closes the normal version of the building behind you, so the sweep happens before you descend, not after.
Chapters: 7–8 · Area: the St. Amelia Medical Centre and its Otherworld counterpart · Key items: the Plank, Room 204 Key, the Medical Wristband · Critical: the Medical Wristband supplies your blood type for the final Medical Centre puzzle, so do not skip Equipment pickups here.
Chapter 7: The Medical Centre
The Medical Centre is a vertical building rather than an open area, and the progression pushes you upward floor by floor. Every floor has documents on desks and counters; because you cannot come back down without reloading, treat each floor as a sweep before you take the stairs.
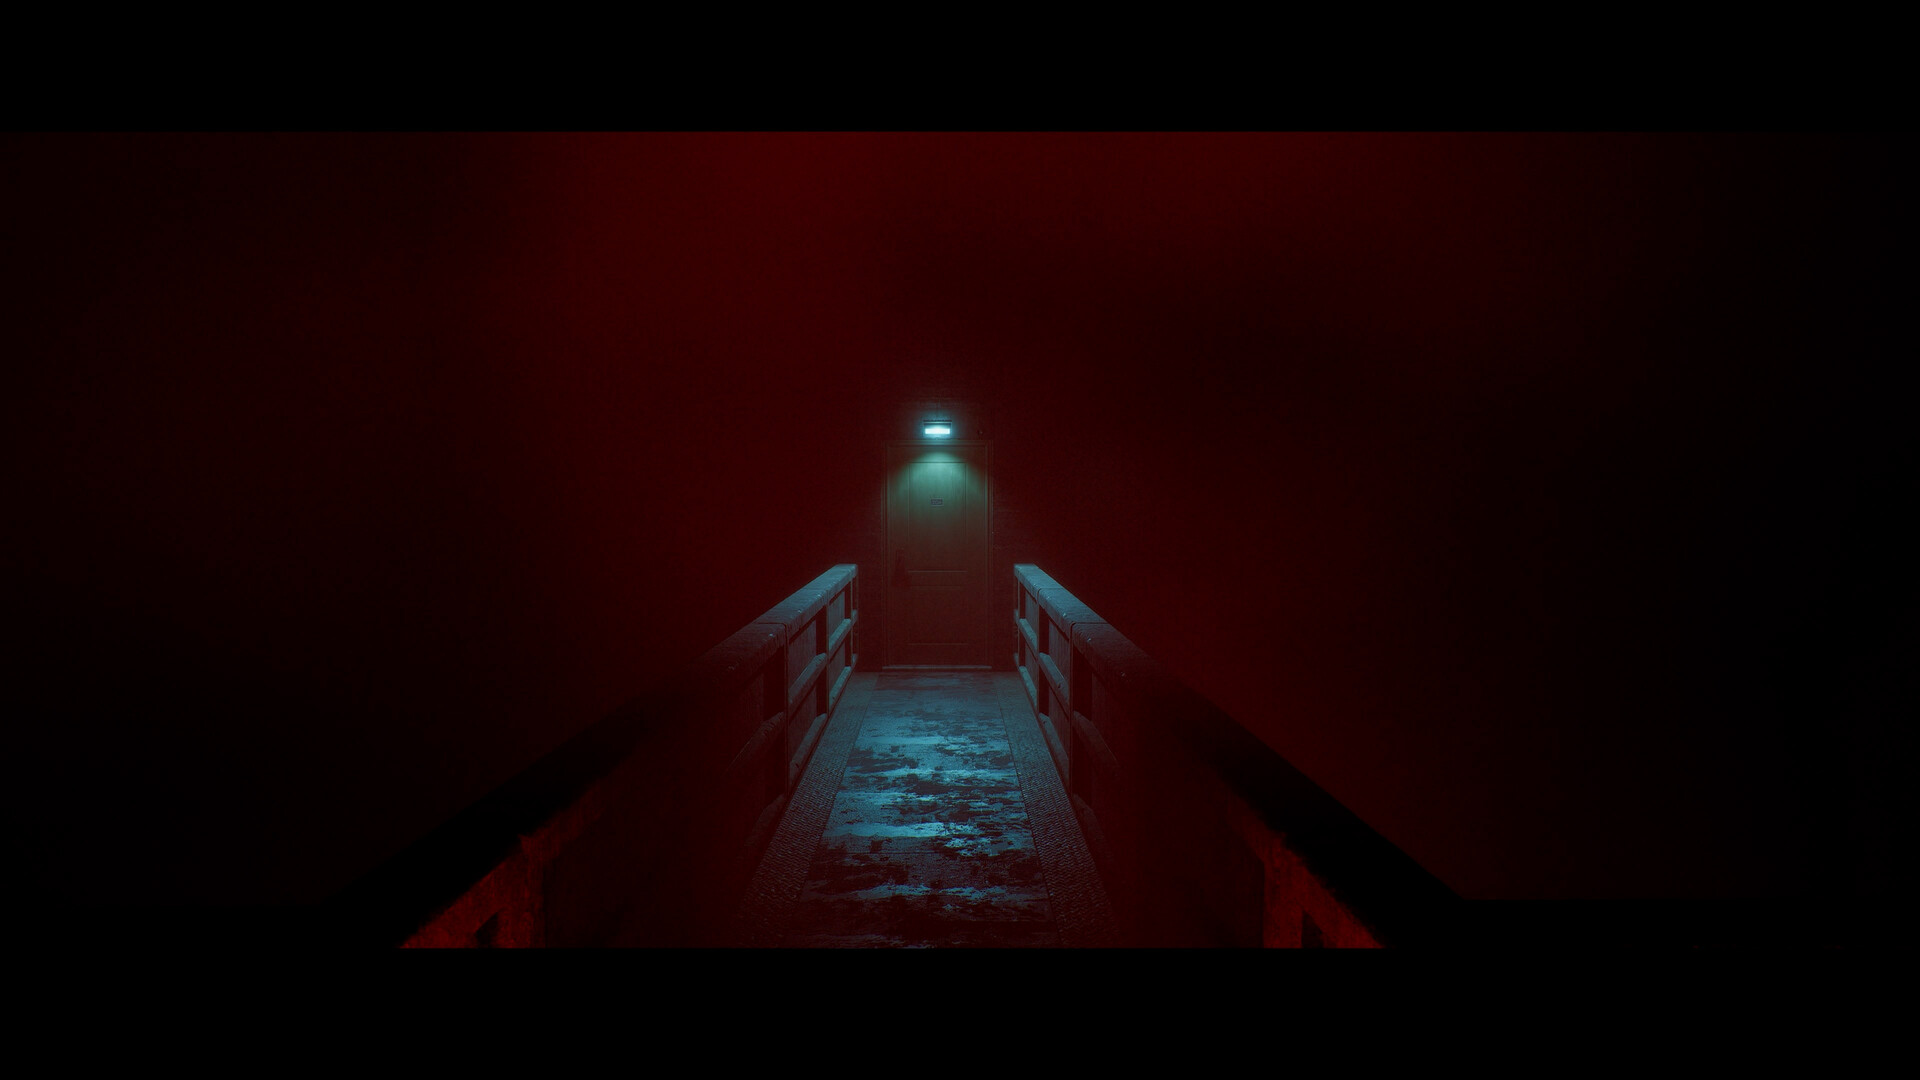
FIG. 01 — The Medical Centre is the game's most linear section. Sweep each floor before advancing.
It is possible to obtain a Plank in the Medical Centre during Chapter 7. It is a melee weapon available in a section where you are otherwise relying on stealth, and having it makes the enemies here considerably less threatening. Check side rooms for it rather than following the critical path directly.
Medical Centre Puzzles
Puzzle: The Patient Initials Wheel
One of the Medical Centre's puzzles presents a set of blood groups and rotating rings. You need to connect the correct initials with straight lines, then confirm by interacting with the ORDELL button in the middle.
| Step | What to do |
|---|---|
| 1 | Establish which blood groups are relevant. You need only O−, O+, A− and A+ to route to the centre. |
| 2 | That leaves three initials in play: T.F., H.M. and S.W. |
| 3 | Spin the rings so straight lines connect exactly those three initials. |
| 4 | Confirm with the ORDELL button in the middle. |
The blood type that tells you which initials to keep comes from the Medical Wristband in your Equipment, combined with the surname printed on the display. If you are missing the wristband, you have walked past an Equipment pickup earlier in the building — and there is no way to solve this puzzle without it.
The initials wheel checks against your own medical record. Attempting to connect the wrong set simply will not confirm, which reads as a bug if you are assuming the puzzle is a lock. Go back and find the wristband instead of cycling combinations.
Puzzle: The Locked Door and the Room 204 Key
At the end of one of the hallways there is a locked door. Interact with it and the Room 204 Key is obtained. This is the door that carries you deeper into the building, and past it the section turns into the Otherworld transition.
Before You Descend
Two things must be done while the normal Medical Centre is still reachable:
- Collect every Document and Clue on every floor. These feed the Discoveries half of your ending calculation, and Part 3 is generous with them.
- Read the Medical Wristband and note your blood type. If you have not picked it up, find it now — it is required for the initials wheel and cannot be retrieved after the shift.
Chapter 8: The Shift
When the transition triggers, the Medical Centre becomes its Otherworld version. The layout is recognisable but the routes are not identical, and the enemies behave differently: this is where the game starts requiring you to actually manage encounters rather than walk around them.
The Otherworld
A few things change in how you should play here:
- Your kill count starts to matter. Enemies you kill here are counted in the same tally that decides your ending. If you are aiming at the upper band, avoid fighting where you can.
- The CRTV becomes more important, not less. Threat detection through walls is the difference between a clean run through a corridor and a fight you did not want.
- Some documents here are the only copies. The Otherworld versions of rooms often hold documents that did not exist in the normal building. Sweep again rather than assuming you have already cleared the area.
FIG. 02 — The Otherworld version of the Medical Centre holds its own documents. Clearing the normal building does not clear this one.
Part 3 ends when you emerge into the next region. Everything from the Medical Centre is now behind you permanently.
FIG. 03 — Every floor holds documents. The Otherworld version of a room holds its own set again.
Part 3 Trophies
| Trophy | How it triggers here | Missable? |
|---|---|---|
| Many Into One | Accept the transfusion in the Alternate Medical Centre | No — story |
| Resignation (if missed) | Completes in Part 1, not here — listed for cross-reference only | No |
| Observation | Collect 50% of all documents — Part 3 is where most players cross this line | Yes — cumulative |
Observation is worth watching here. It triggers the moment you cross half of the game's documents, and Part 3 is dense enough that a thorough run will push you over it. If it has not appeared by the end of this part, you have been leaving documents behind.
Part 3 Checklist
| Item | Type | Note |
|---|---|---|
| Medical Wristband | Equipment | Required for the initials wheel — do not miss it |
| Room 204 Key | Key item | Opens the route deeper into the building |
| Plank | Weapon | Optional but strongly recommended |
| All Medical Centre documents | Documents | Every floor, both normal and Otherworld versions |
| All Medical Centre clues | Clues | Feeds the Discoveries half of your ending |